A turnstile project might be modified to make an anemometer for Jr.FLL 2008 or 2013.
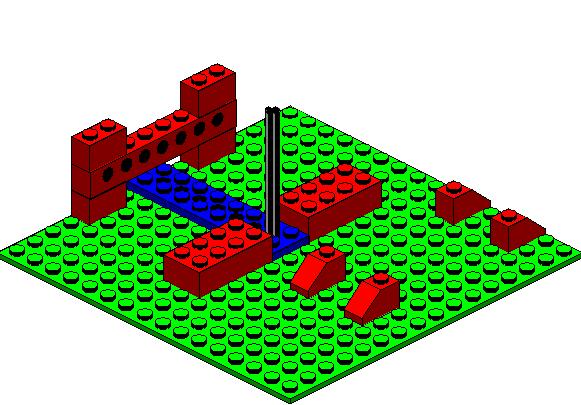
For the Cities and Transportation sets, use 2 stud beams instead of the angle blocks.
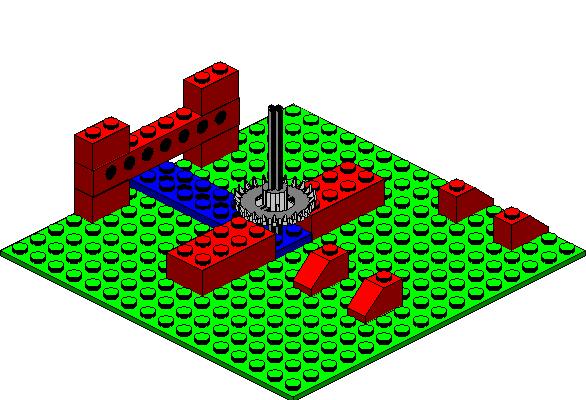
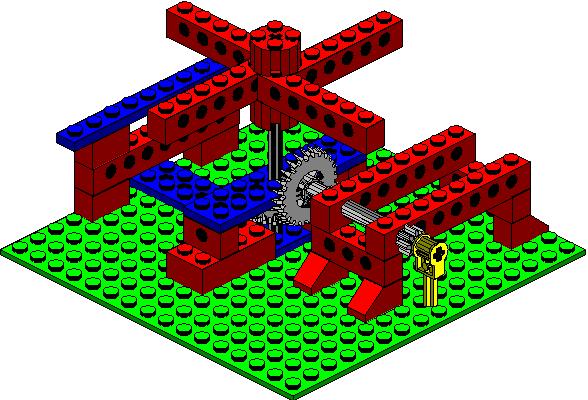
Place the crown gear so that it rests on the blocks.
For the Cities and Transportation sets, use two 4 stud beams instead of the blocks.
Count how many "people" can walk through the turnstile for the indicator
to go around once.
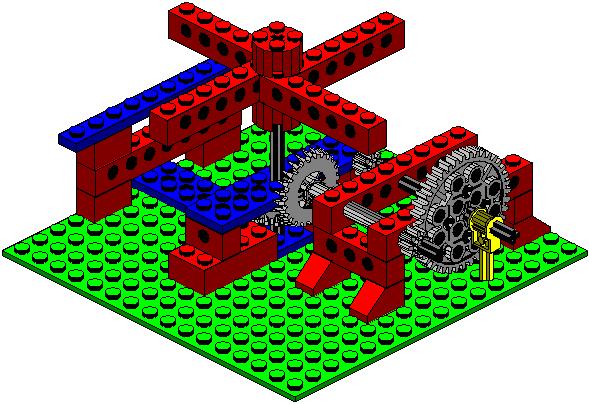
For the Cities and Transportation sets, use 24 tooth gears instead
of 40 tooth gears.
Count how many "people" can walk through the turnstile for the indicator
to go around once.
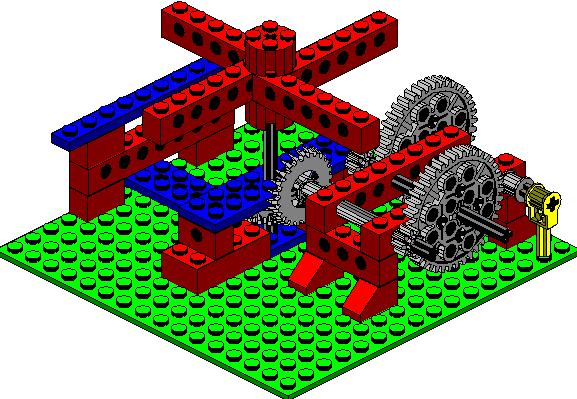
Count how many times "people" can walk through the turnstile for the
indicator to go around once.
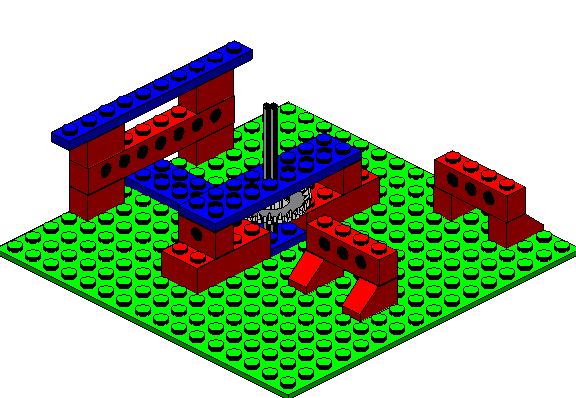
Use a gray connector pin and a 2 stud and a 4 stud beam to make a catch
so that people can only go in.
This is an example of a pawl and ratchet.
Place it so that the 4 stud beam rests on the crown gear.
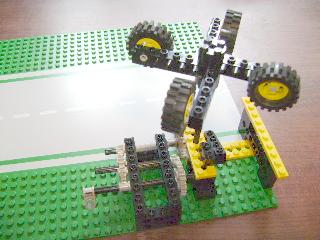
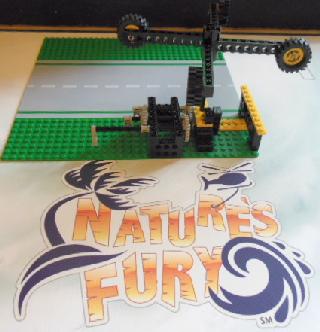
Try making an anemometer by using a long axle and adding wheels for
cups.
An anemometer can show you how fast the wind is blowing.
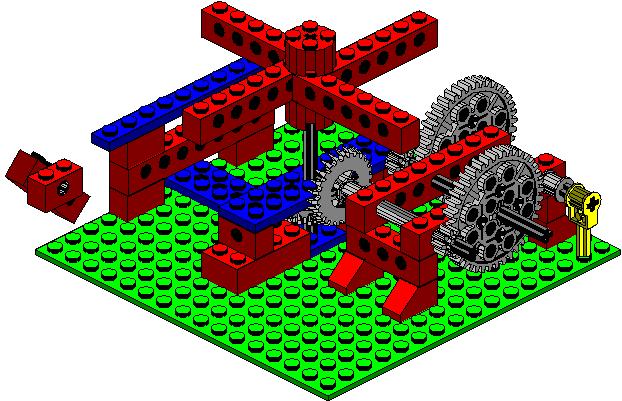
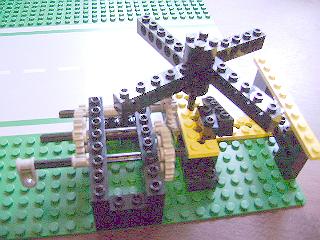
Here is the completed example using Cities and Transportation set.
The pawl is added so it lies on the crown gears and allows it to only
turn one direction.
Use the side of the walk way if the project is to be used as a turnstile.
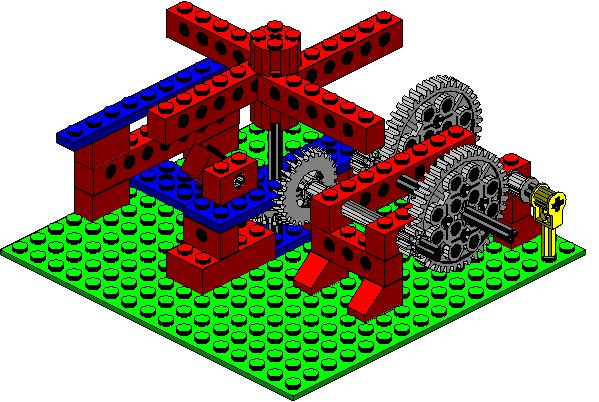
The gear train with 3 indicators to count different rotations.
The four parts
Top view
Back view
For building instructions see anemometer on http://ldd.lego.com/en-us/gallery
username LindaLEGOLadyHamilton
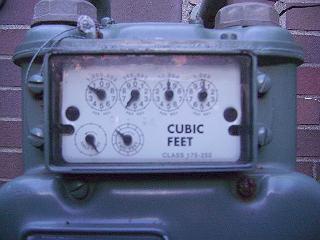
The indicators work much like those on a gas meter.
